Quick Start: Hello World Contract
Prerequisites
- Before proceeding forward, ensure that you have completed Getting Started section and that you have followed Getting Started Documentation Diagram.
- This page assumes you are familiar with Smart Contract Basics.
The install process has already set up the wallet for the root user. To interact with clio, ensure you are on the root user. Run sudo su - to switch to the root user before proceeding with the tutorial.
Steps
1. Clone the Contract Repository
Start by cloning the existing GitHub repository containing the Hello World contract to your local environment:
git clone https://github.com/Wire-Network/guides.git && cd guides/hello-world-contract
Then open the code into your favorite code editor and inspect the files.
2. Compile the Contract
Compile it using the ./build.sh. This script uses the Wire Contract Development Toolkit (CDT) the Hello World contract into WebAssembly (WASM) format. The script will create a compilation folder hello/ with the WASM and ABI files.
./build.sh
Upon successful compilation, you will see a hello folder with hello.abi and hello.wasm files.
|   ....
├── hello
│   ├── hello.abi
│   └── hello.wasm
|   ...
3. Deploy the Contract
Before deploying, ensure you have an account to deploy the contract to. Create an account if necessary and replace PUBLIC_KEY with the development key used in Manage Local Wallet with clio guide (see Import Keys; key pair is also listed here). Your wallet must be also unlocked before using it (see Unlock a wallet).
3.1. Create an account using clio
clio create account sysio hello $PUBLIC_KEY -p sysio@active
This command enables the sysio system account to create a new account named hello on the Wire blockchain. The -p sysio@active specifies that the active permission of the sysio account is used to authorize the account creation.
3.2. Issue a contract policy to hello account
nodeownera's credentials(those should be already imported in your wallet from wire-cli installation):
clio wallet keys_by_name --password "$(cat /opt/wire-network/secrets/wallet_password.txt)" | jq '.[] | select(.[0] == "nodeownera")'
Issue the policy:
clio push action sysio.roa addpolicy '{"owner": hello, "issuer": nodeownera, "net_weight": "0.0100 SYS", "cpu_weight": "0.0100 SYS", "ram_weight": "0.1000 SYS", "time_block": 1, "network_gen": 0 }' -p nodeownera@active
3.3. Run deploy script
./deploy.sh
4. Push a Transaction
4.1. Create bob's account (if not already created)
clio create account sysio bob $PUBLIC_KEY -p sysio@active
4.2. Issue a policy to bob
clio push action sysio.roa addpolicy '{"owner": bob, "issuer": nodeownera, "net_weight": "0.0100 SYS", "cpu_weight": "0.0100 SYS", "ram_weight": "0.1000 SYS", "time_block": 1, "network_gen": 0 }' -p nodeownera@active
4.3. Invoke the hi action
Invoke the hi action within the contract:
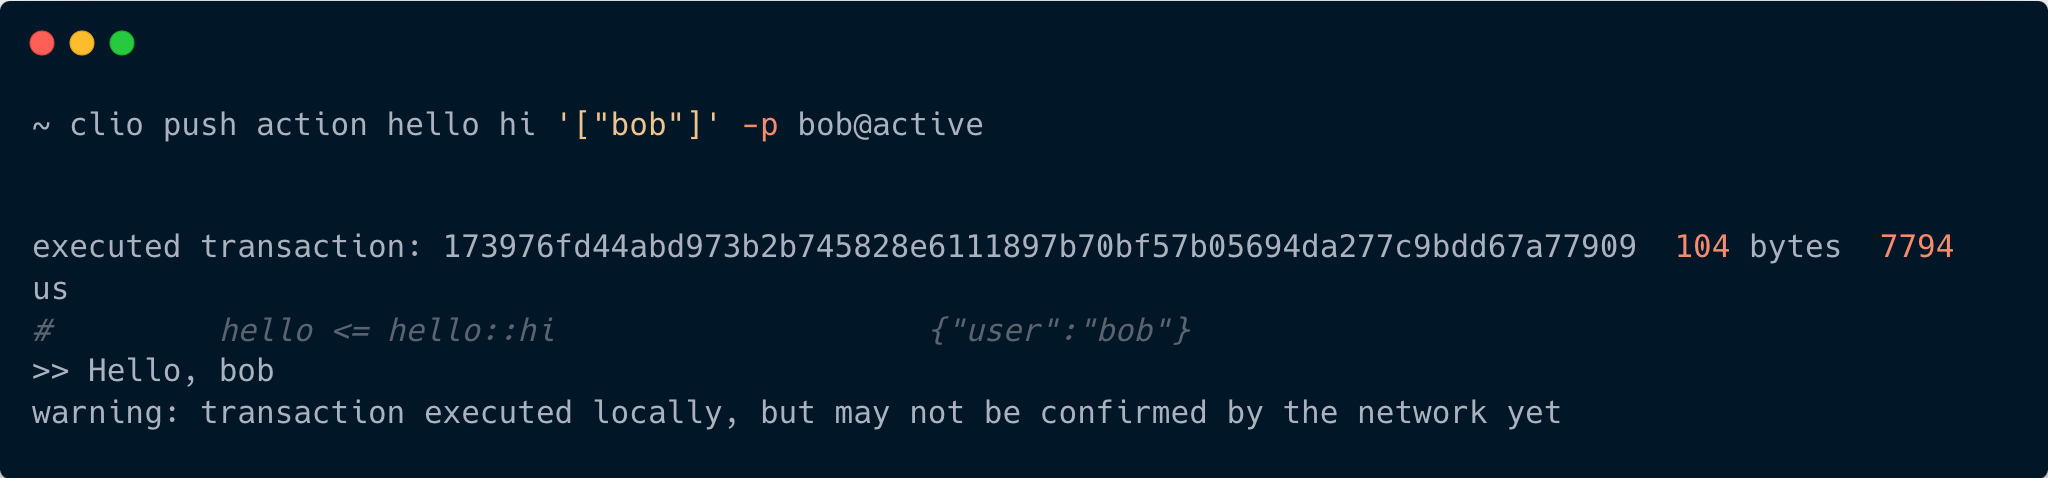
clio push action hello hi '["bob"]' -p bob@active
This command triggers the hi action for the user bob, and if authorized by bob, it prints "Hello, bob".
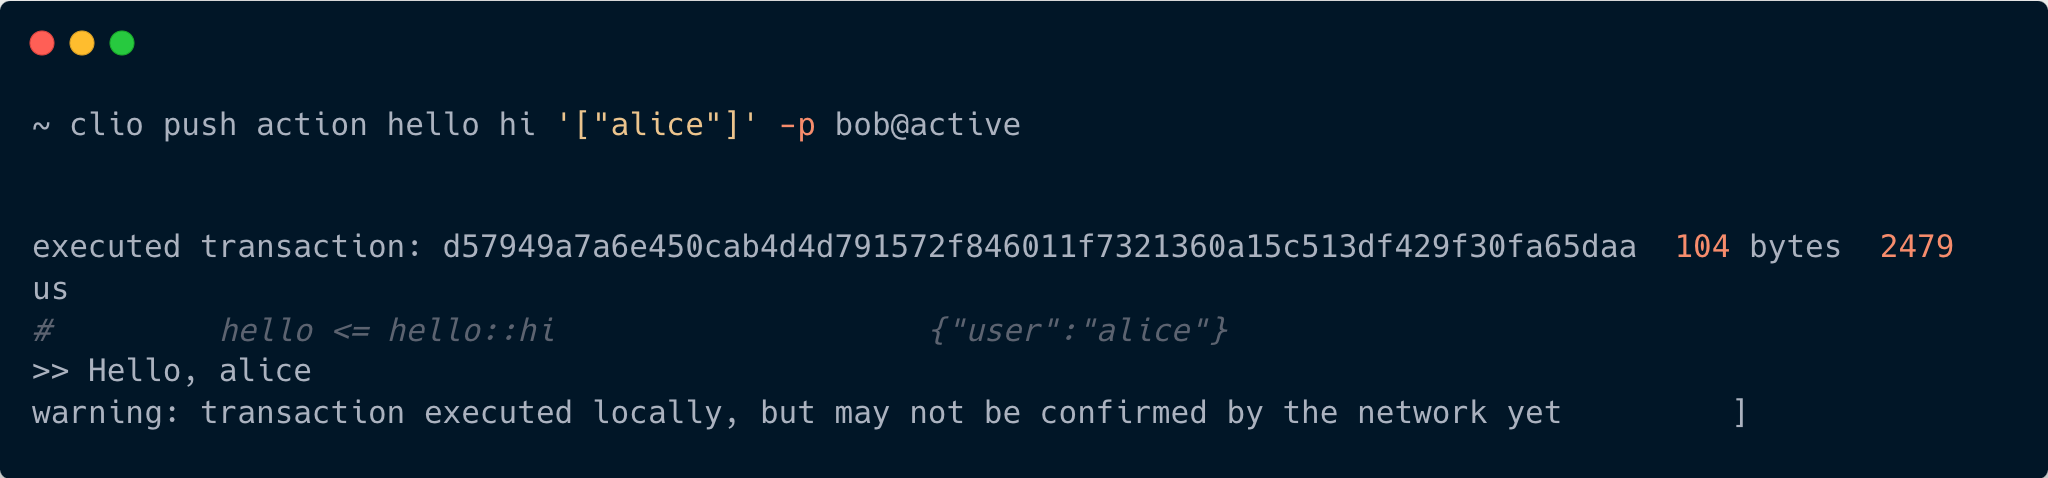
Repeat the same passing "alice" as data to the action and using the same permissions:
clio push action hello hi '["alice"]' -p bob@active
5. Change the contract code
Next, let's change the contract code by enabling require_auth() function and see firsthand how checks and permissions work in contract actions. If there's a mismatch between the authorizing user and the user parameter, the contract will not execute due to the require_auth check.
Comment out Line 5 in hello.cpp
#include <hello.hpp>


void hello::hi(name user) {
    require_auth(user);
    print("Hello, ", user);
}
Recompile and redeploy the contract. Then execute:
clio push action hello hi '["alice"]' -p bob@active
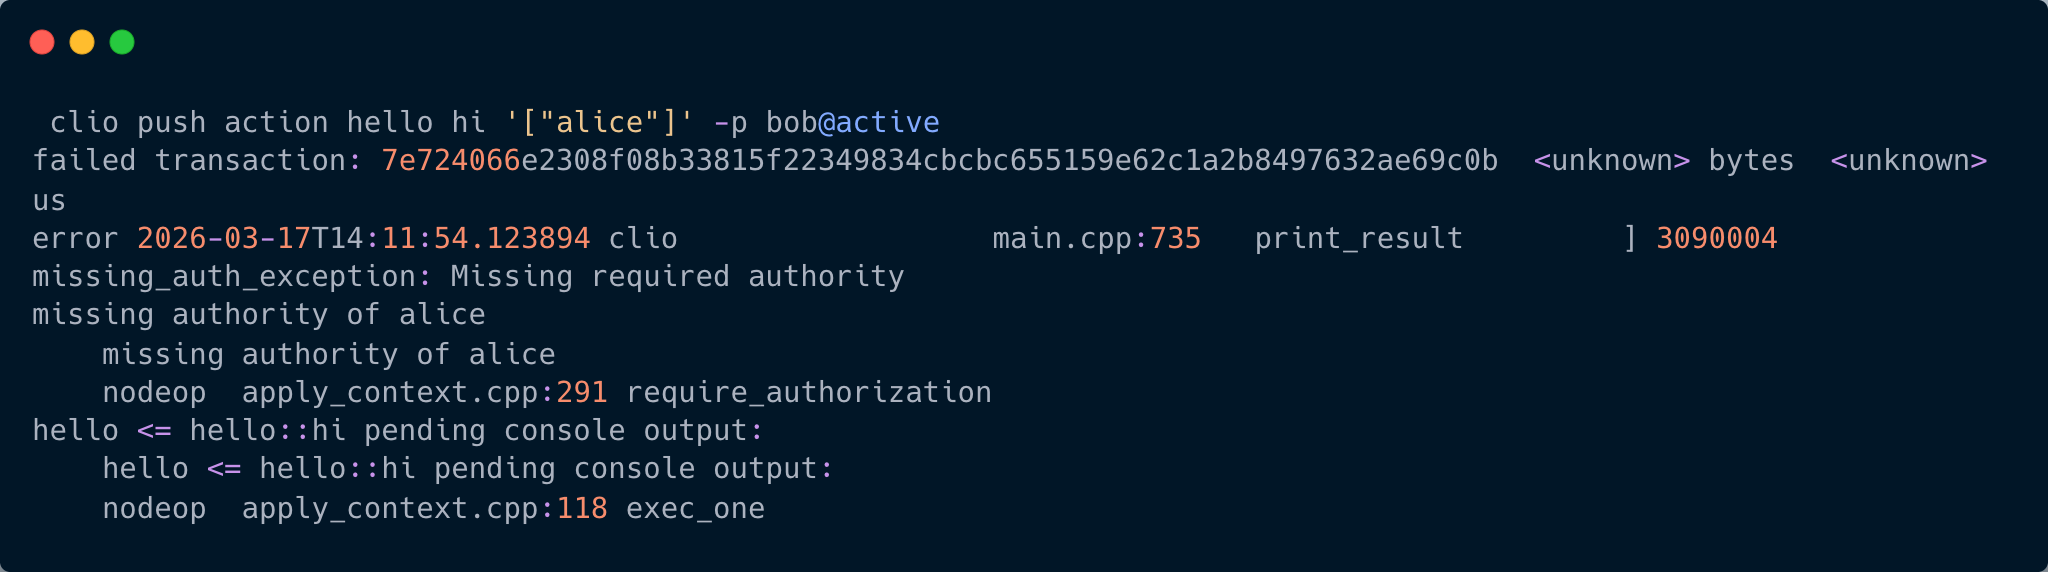
This will result in an authorization error since bob is trying to execute an action that requires alice's permission.
CLI output: